With Windows 10, Microsoft integrated an existing feature of Windows Phone 8.1: Wifi Sense. It lets you to share your Wifi passcode with your friends in Facebook, Skype or Outlook.
This feature can be friendly for public people but if you are more concerned about your security network, you may want to disable this feature.

Wifi Sense new network
In the first time, Microsoft says that information sent between you, Microsoft and your friend are fully encrypted. And in second time, a person who got access to your Wifi with Wifi Sense will only have access to internet, and not your internal network. If he needs to access a share or your printer, he needs to enter the passphrase.
Let’s see how to disable this feature.
Disable Wifi Sense
Wifi Sense can be disable on your computer using the new control panel : Settings
- On the Setting page, select Network & Internet:
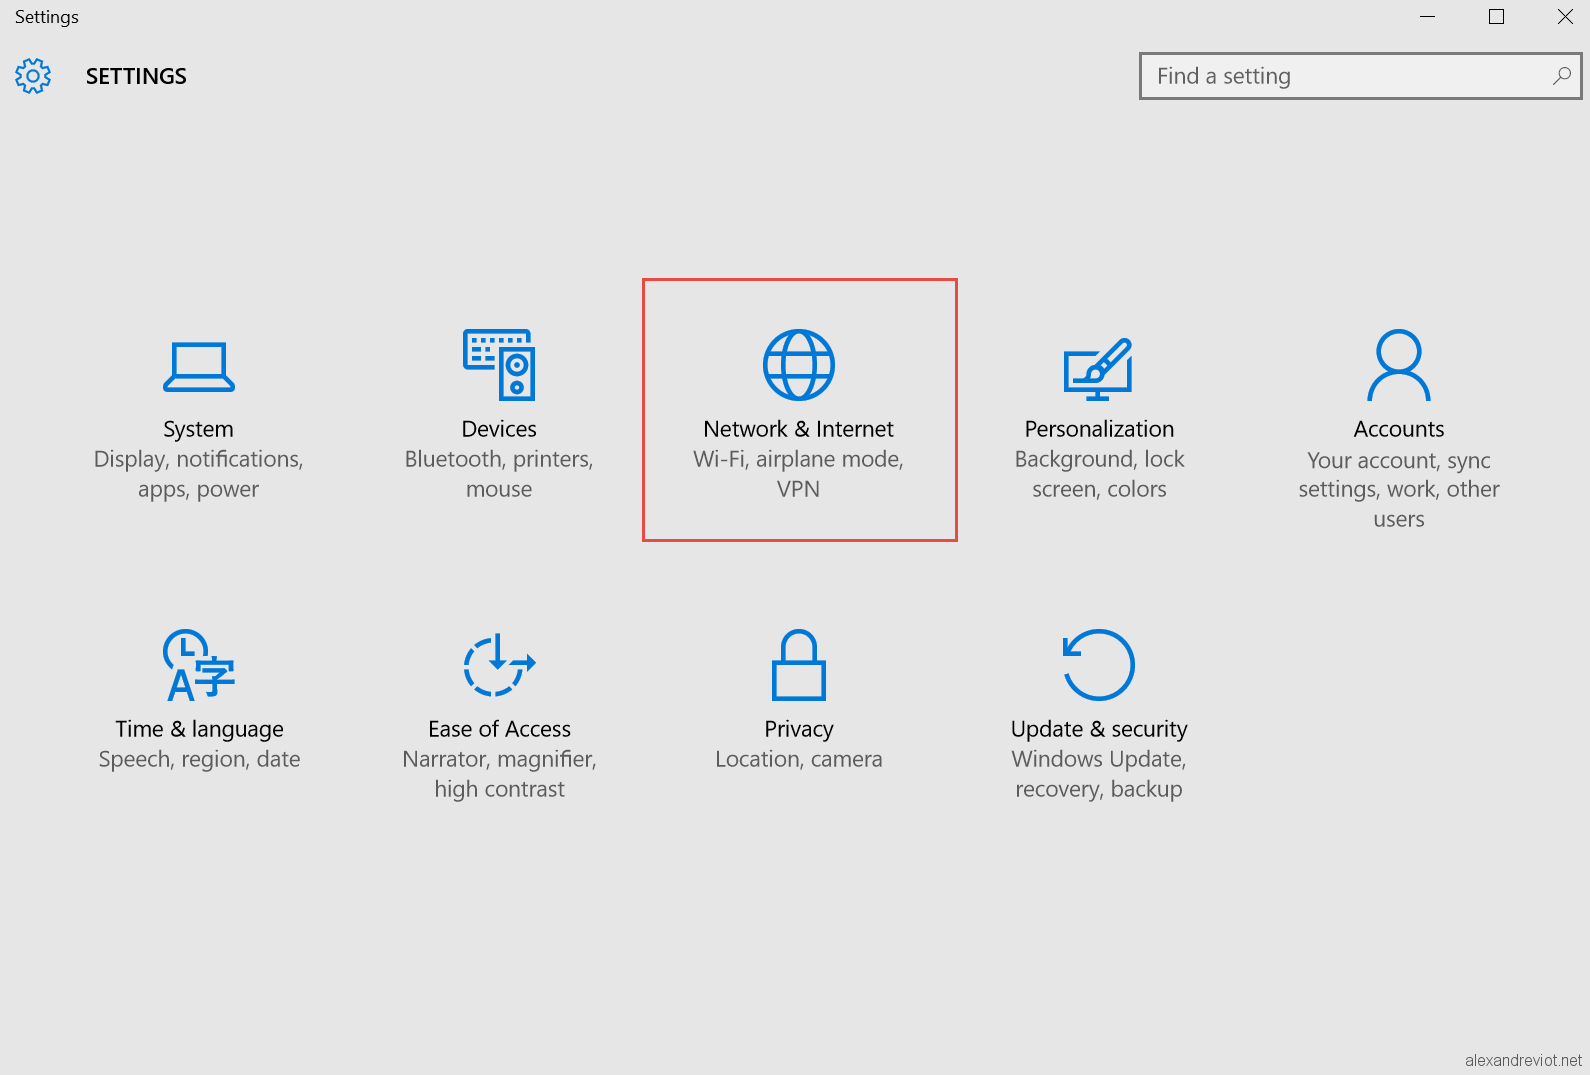
Settings Network & Internet
- On the Wifi tab, select Manage Wi-fi Settings:
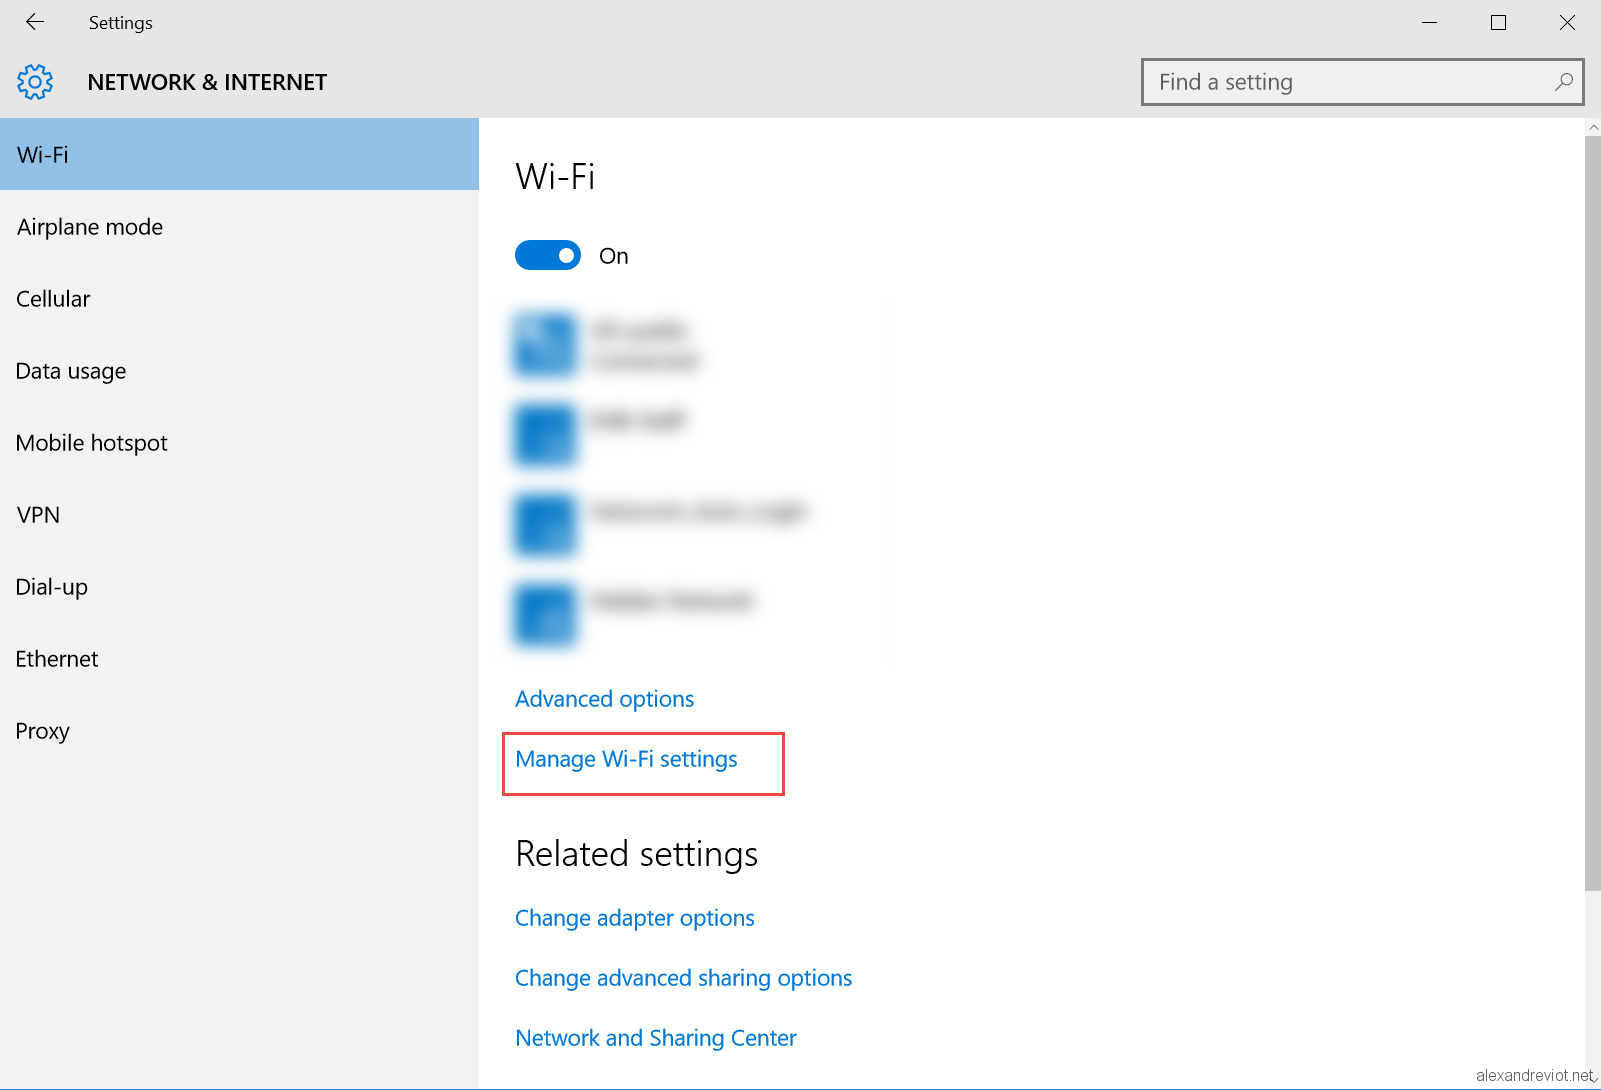
Manage Wi-fi settings
- By default, Wifi Sense is enabled:

Wifi Sense enabled
- To disable Wifi Sense, uncheck:
- Connect to suggested open hotspots.
- Connect to networks shared by my contacts.

Wifi Sense disabled
Wifi Network name
Ok, in the first part we saw how to disable it on your computers. But what if you friend came to your house, enter the passphrase and had Sense activated, Facebook account linked and checks Share network with my contacts? He can share your Wifi network with its friend.
To prevent Sense to be activated for your network, whatever the computer configuration, you need to add a suffix to your Network name : _optout. With this key word, the feature will not manage your Wifi.
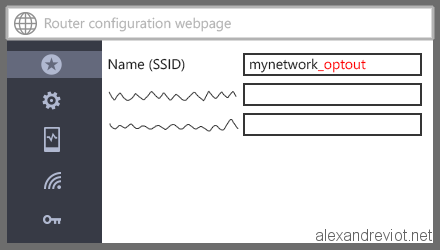
_optout keyword
More
You can have more information about Wifi Sense here.
